Making a Bow

May 19, 2009

Finishing

Filed under: Uncategorized — admin @ 12:16 pm

img_7411(Worked on May 18, 2009)

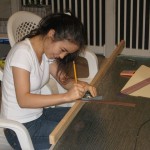
To finish off the bow, I sanded it using 100 grit, then 320 grit, then 400 grit sandpaper. I followed each sanding with a wipe-down of the bow using a microfiber cloth to get all the sawdust off. After I was done sanding, I used Howard Feed-N-Wax wood preserver, made of orange oil and beeswax. I followed the instructions to wipe it on, leave it for twenty minutes, and then wipe off. The resulting color change was very appealing- I loved it. (more…)

Tillering

Filed under: Uncategorized — admin @ 11:58 am

img_7359(Worked on May 17,18, 2009)

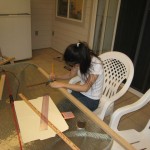
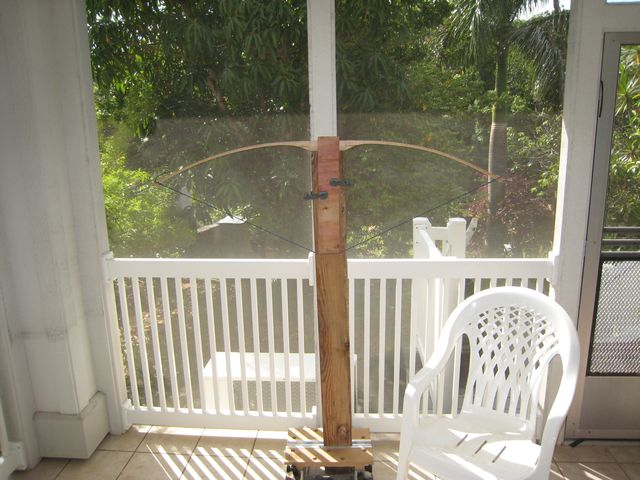
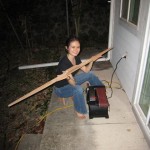
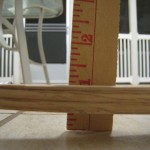
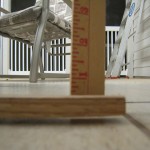
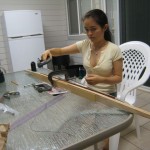
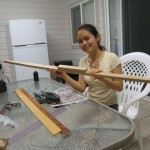
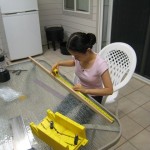
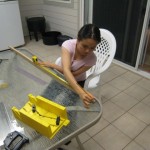
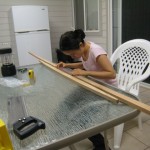
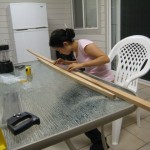
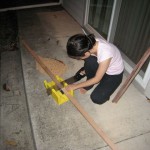
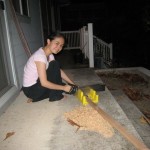
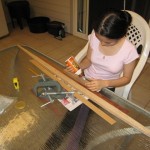
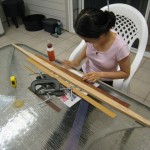
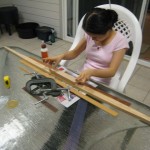
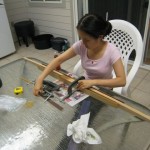
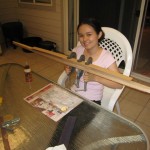
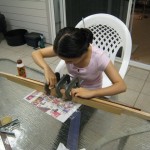
What makes a bow a bow is the tillering process. The purpose of tillering is to get the bow to bend evenly, with the right pull poundage at the right draw. To tiller, one usually uses a tillering stand, something I’d have to build, since I don’t own one. However, I could achieve a similar effect by propping up a board in the Workmate clamp, and using two c-clamps on two other boards to keep the bow from falling off the apparatus. By pulling the string down to the outer board’s edge, I could stand back and see how it bent, and see which parts of the limbs I needed to sand. There are many problems that can arise while tillering, common problems including hinges, of which I had one. It took quite a long time, and it was extremely frustrating, but I was eventually able to get it to the point where I could bend it and brace it and the bow would bend how I wanted it to. (more…)

Shaping the Handle and the Nocks

Filed under: Uncategorized — admin @ 11:39 am

img_7338(Worked on May 16,17,18, 2009)

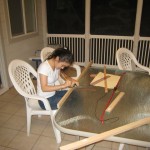
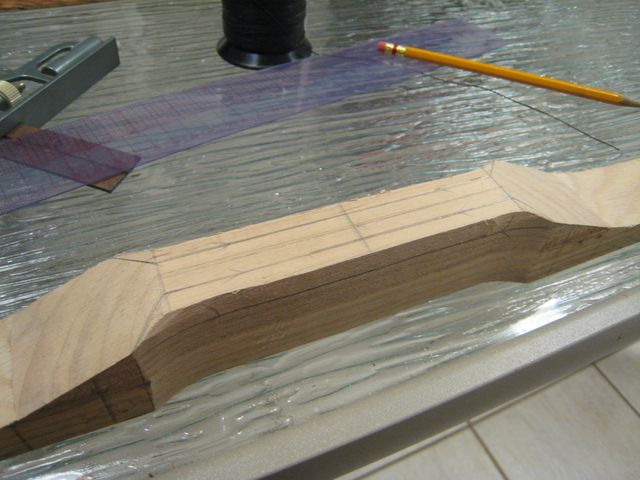
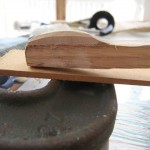
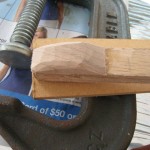
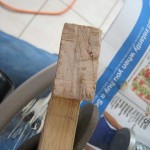
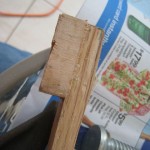
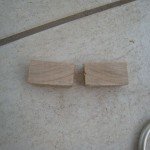
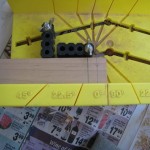
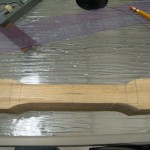
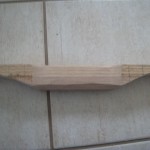
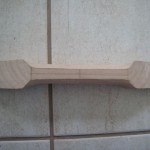
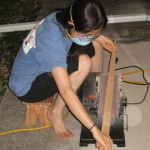
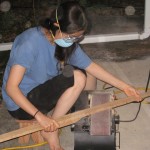
To make the handle easier to hold, I used the belt sander to take off 1/4″ from each side of the handle. After I did this however, the edges were still quite sharp to hold, so I sanded a tiny bit off of the outer edges with my sander. For the innner edges that would be against the palm of the hand, I measured 1/4″ more in from each side, and sanded a diagonal edge in, so the handle would be more rounded to hold. Until the very end, I was uncertain about the nocks. I was unsure of whether they would be able to hold the string once I’d glued them on. However, I decided to go ahead and try them out anyways. I cut off ~1/2″ blocks off of the maple board using the miter saw and the coping saw. I used a lot of glue to glue them on- at the time, I didn’t understand why it needed so much more than the riser needed. When I asked my father, he explanined that it was because I was trying to glue endgrain on, which absorps more glue than the side grain. Using a saber saw, I sawed off two more pieces with side grain on the side to be glued, just in case the pieces I’d clamped on wouldn’t work, but fortunately, about an hour later, after I’d removed the clamps, the endgrain pieces stayed on the bow well. I freehand shaped them using the belt sander- I had a vauge idea of what I wanted, so I just sanded until the maple nocks looked like how I wanted them to, and were the right size for the string. To cut the grooves for the string, I used the rasp I bought from WoodCraft, since the City Mill rasp was too large for the job. To get the right angle, I measured to the center of the 1.5″ long nock, and 1/4″ above it. I drew a line through the center of the nock, and angled my rasp from one center line to the other. I rasped until I felt that the grooves were the right size for the string.

Time Spent: ~3hrs

Sanding it Down and Finishing the String

Filed under: Uncategorized — admin @ 9:25 am

img_7304(Worked on May 9,10,11,12,13,14,15,16,17,18 2009)

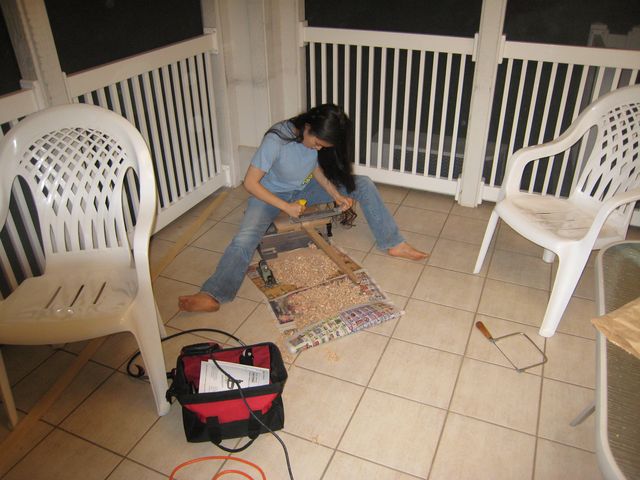
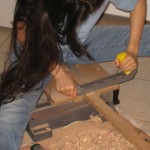
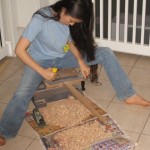
I decided to plane down the belly- which worked very well. However, once I’d finished planing down to my guidelines, I realized that my bow still didn’t bend. Despite the large amount of wood I’d shaved off, the bow was still quite rigid. Another small problem was that the plane couldn’t get all the way to the end of the belly near the riser, since the plane ran into the riser. I probably should have planed the bow before I’d put the riser on, but I figured I needed to test the bow’s bend with the riser on, since I didn’t want the wood to warp too much where the riser was supposed to go, and I wanted to see how the bow bent with the riser on. To solve the problem, I decided to use the Stanely SurForm rasp that I’d decided not to use for planing down the sides. The rasp worked wonderfully on the wood- perhaps because it had more of a surface to grip to after I’d planed down part of the wood, perhaps because I was more motivated to make it work, since if it didn’t, I didn’t know what I was going to use to shave the belly wood off. I also used it to scrape down the handle on the belly side- I still wasn’t sure what I was going to do to thin it out on the sides to make it easier to use. However, despite the rasp working for removing wood, it was difficult and it took a long time. A few days into my struggles, my parents came home with a new purchase- a Craftsman belt sander. This made my work go much more quickly, but the process was still long and difficult, as taking wood off evenly with the belt sander was much more difficult than taking it off with the plane, or even the rasp. I kept floor tillering the wood until it bent. For the string, I decided that it needed to be finished soon, even if I didn’t know exactly how big the loop needed to be- so I just estimated a size, and proceeded to braid the rest of the string.

Time Spent: many hours

Removing Clamps and Starting the String

Filed under: Uncategorized — admin @ 9:10 am

img_7250(Worked on May 9, 2009)

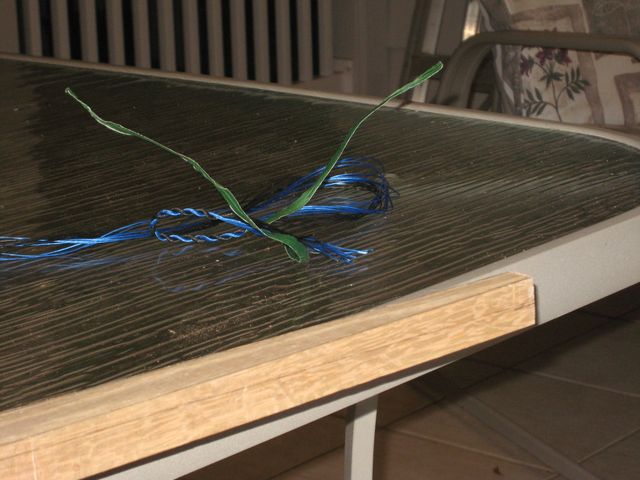
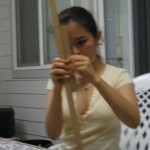
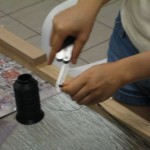
Two days later, I removed the clamps on the riser- the wood glue held well, which I checked by trying to pull the two pieces apart (I wasn’t aware of wood glue’s strength). For the string, I had read on a website with a guide on how to make a Flemish bowstring that the author that  had measured out his string using his own height, standing tall with his arm up. I tried it, but I turned out to be a little short for the job, so I had my father, who is ~6ft tall measure it out for me. I used 7 strands of each color, 14 strands total. To braid the string, one braids it as one would braid rope- twist the strands one way, and twist the two pieces in the opposite direction. I only got a couple of inches in before I realized that I didn’t know how large I should make the loop- so I put a twist tie on the end and stopped braiding. The strands were waxed, so they stuck together well.

Time Spent: ~45min

Drawing the Lines and Cutting the Riser

Filed under: Uncategorized — admin @ 12:35 am

img_7010(Worked on May 7, 2009)

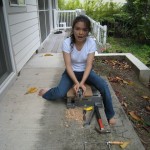
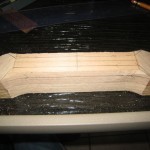
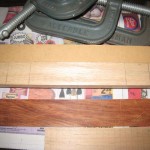
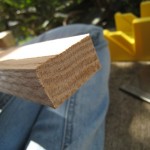
The next step on my bow was to thin it down, so it could bend. I decided to make the ends 3/4″, based on the “Bow Building for Poor People and Apartment Dwellers” “Red Oak Board Bow Build Along”. I drew a straight line from where I planned to have the ends of the riser to where the 3/4″ marks were. Between the three types of wood I had to choose from, I decided to use my maple board for the riser and the nocks, since I it was darker than the red oak, and I thought it would have nice contrast. I measured out 9″ on the board and the bow, and 5″ on the bow, to see where I was planning on tapering the handle to. I cut the maple board using the miter box to 9″, and clamped it using c-clamps onto the belly of the bow using Gorilla Wood Glue, which I bought on my first trip to Home Depot. The instructions on the glue said to leave the wood clamped for at least 24 hours, so I left the bow for the night.

Time Spent: ~1hr30min

May 17, 2009

Shopping

Filed under: Uncategorized — admin @ 10:05 pm

img_6995(Worked on May 2,3, 2009)

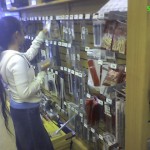
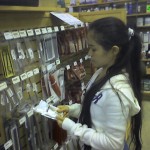
Despite my first shopping trip to Home Depot, I was still lacking in a lot of the necessary materials to make my bow and string. To remedy this, I went to three stores- first, The Island Archer, then on another day, City Mill and WoodCraft. At The Island Archer, I picked up two rolls of bowstring material, and a roll of serving string. I didn’t know what kind of bowstring material I wanted, but they only had one kind, so I picked up blue and black rolls. Turns out, after a quick Google search of “Brownell & Company, Inc.” (the name on the roll), that B-50 bowstring, (the type I bought) is the type the company listed for traditional bows, which is what my bow is (in a way). My next shopping trip was to pick up a rat-tail rasp to cut the nocks at the end of my bow. At City Mill, I found a GreatNeck 6″ Round File, but I decided I needed a thinner rasp, so I went to WoodCraft. At WoodCraft, I was able to find a 160mm round needle rasp, which was much thinner. I also bought a handle for the rasp, as it came without one. Both rasps I bought were tapered, which I thought might be a problem, but it turned out to be a good thing. At City Mill, I also bought some bolts and nuts and washers to make my tillering stand.

Time Spent: ~1hr20min

May 1, 2009

Slicing the Sides

Filed under: marking/cutting,shaping — Tags: , , — admin @ 4:03 pm

img_6799

(worked on April 9, 10, 12, 2009)

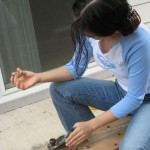
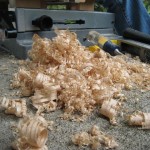
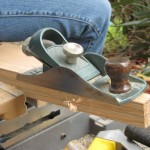
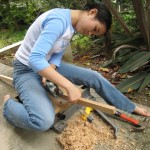
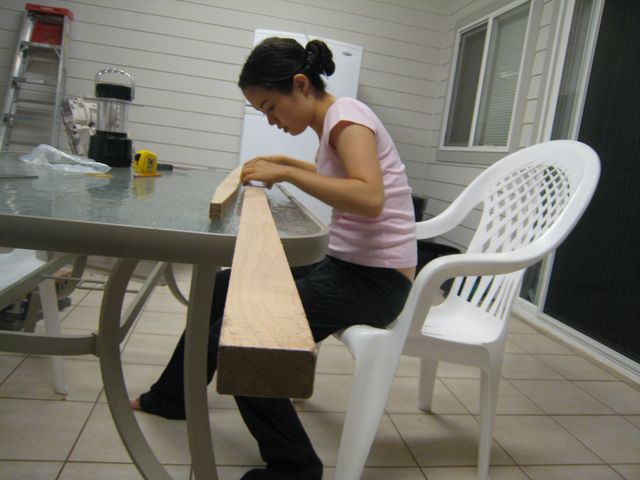
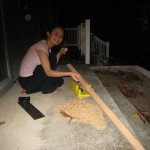
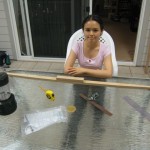
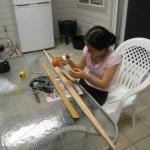
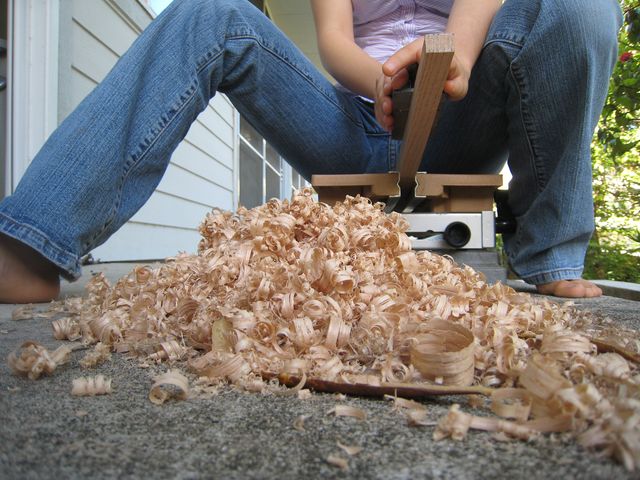
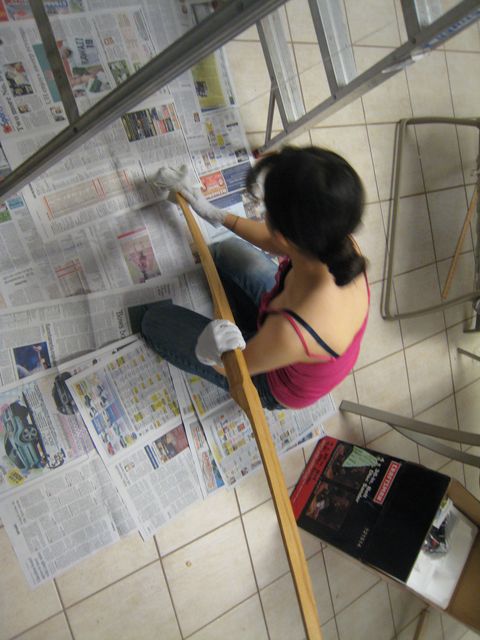
My indecision didn’t last as long while deciding how to shape the bow as it did before the last post’s step. There are a few shapes that I could have chosen, like a pyramid bow, which has a thin handle with triangular limbs, or a more curved shape that starts at the tips and slopes back into the handle. Unable to choose a specific bow shape, I started with the measurements of the nocks and handle first. I decided to make the nocks 1/2″, since that was the most popular size on the bow making websites I viewed in my research. From there, I decided to make the handle about 9″ long, since the bow:handle ratio of the bows I saw was about 72:10 (~7%), although the approximate bow:handle ratio of the bow I currently own is larger (50:4). From there, I decided on a simple straight shape from nock to handle edge. I haven’t decided whether to put a riser on my handle yet, I will decide when I start shaping out the back of the bow. To shape the limbs, I used a Black & Decker Benchtop Workmate clamp, and a hand plane. It took me ~20 mins to finish the last side of the limb, although some sides went faster than that, I think. When I first started to try to shave down the sides of the limbs, I tried to use a Stanley SurForm rasp, which was what one “how to” website used for the job. However, I found that the rasp barely even took one piece of sawdust off when I applied it. I tried a a chisel and hammer next, hoping to knock off pieces of wood in large chunks, making the job shorter. This also failed, as I barely made a dent in the end of the wood. I tried a coping saw, to saw off the excess wood, which also didn’t work. Next I tried an electric  sander, which may have worked better than the other two, (although not noticebly so) but it still went quite slowly. I finally tried the plane, which turned out to shave off quite large pieces of wood in a relatively short amount of time. While my hand grew a bit numb pushing the plane, I was able to get all the sides done before I lost feeling in a few fingers, switching hands a few times. The plane, while shaving off large pieces of wood, also made the sides even more smooth and sharp-edged than they had been originally. While slicing down the sides, I noticed that some sides provided more resistance to the shaving. I found the reason for this after I’d finished- planes are meant to move with the grain, as most tools are- when pulled against the grain, planes pull up chunks. Fortunately, this only happened in a very small way at the very end of my slicing, so it wasn’t a problem.

Time Spent: ~1hr20min

Technical Terms:

Nock: The ends of the bow, where the ends of the string attach to the bow.

Black & Decker benchtop Workmate clamp: This clamp is long, and closes with cranks. It kept the wood from moving around while I shaved it down.

Stanley SurForm rasp: This rasp is like a grater, it has many tiny blade-edged holes to rub against the wood.

Hand plane: A plane is basically an adjustable blade attached to a holding device, designed to flatten, smooth or reduce a piece of wood. Usually it is pushed across the wood, (as opposed to pulled) to slice off sections of wood.

Coping saw: A thin blade for intricately cutting wood- placed on the edge of a square, c-shaped frame.

Electric sander: The type I used was a vibrating surface with sandpaper stretched over it. It vibrates so when someone places it on wood, the person doesn’t need to rub it back and forth to sand the wood.

Chisel and hammer: A chisel is a blade with a handle, used to knock pieces of metal, wood, stone, etc. off larger pieces. The chisel I tried to use was a horizontal blade with a handle, similar to an oversized, sharpened slot screwdriver. Chisels are usually used by placing the blade on the larger piece, and knocking the end of the handle with a hammer.
April 12, 2009

Marking it Up (Cutting it Down)

Filed under: marking/cutting — Tags: , — admin @ 4:19 pm

img_6659

(worked on March 29, 2009)
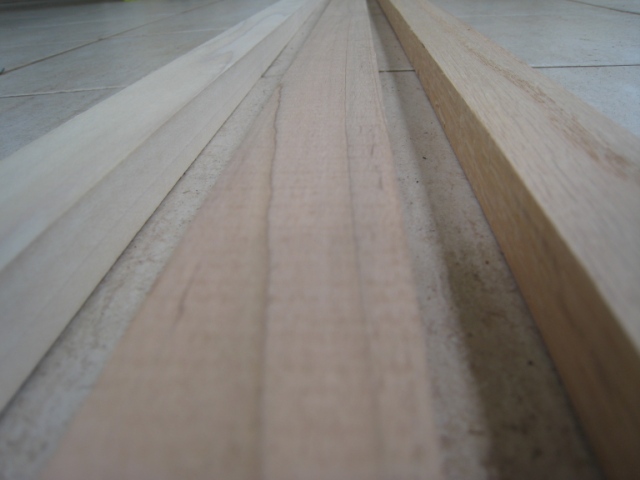
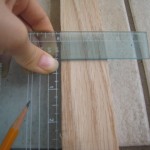
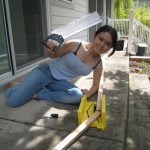
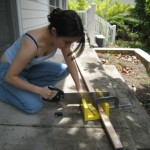
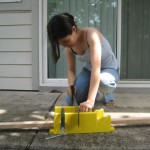
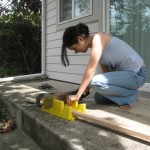
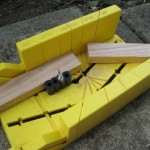
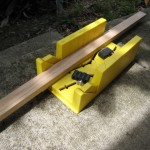
I waited a bit to work on the bow after I got the wood home, mostly because I was very unsure as to what length to make my bow. I consulted sites online that gave approximations as to what size bow fits what size person, but due to the variety of bows offered online I was still unsure as to whether I wanted a bow “large” for my size or “small” for my size. I eventually decided to use a 60″ bow, a couple inches shorter than my own height, which, according to the websites, would be ~2″ short for my size. I penciled in the ends on the 10 ft redwood piece using a plastic t square (a metal one, while preferable to plastic because it wouldn’t bend, was nowhere to be found at the time) so the 60″ piece would be the straightest grain on the piece. After I marked it, I took it outside, clamped it into the miter box and used the miter saw to take off the extra pieces.
Time Spent: ~1hr30min

Technical Terms explained:

T-square: A ruler shaped like a T, for drawing straight lines at right angles.

Miter box: A device which has slots for a saw, so cuts can be made at different angles (ie: 90deg. is what I used, but the box also had slots for 45deg, 20deg, etc.) My miter box also has clamps to keep the wood on the box, so it doesn’t move when being sawed.

Miter saw: A saw designed to be paired with the miter box- straight, fits the slots, has a bar on the top to stop the saw from going too far, and to stop the saw from bending too much.

A note on notation: I’m using inches for the wood measurements because inches is the standard form of measurement for bows.

March 8, 2009

First Day on the Job

Filed under: shopping — Tags: , — admin @ 1:36 pm

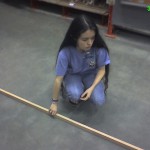
measuring the length

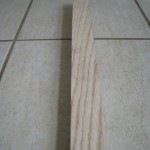
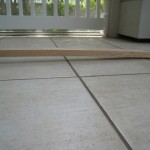
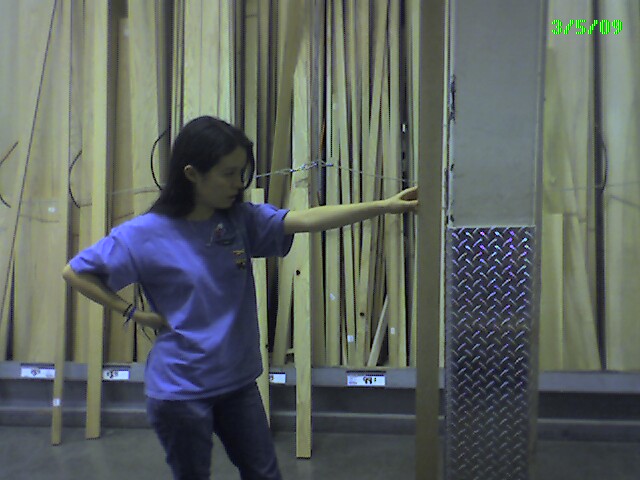
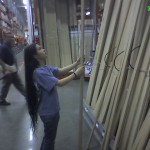
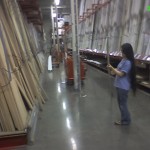
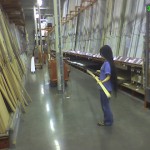
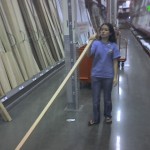
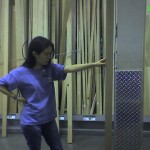
On Thursday (March 5), I went shopping with my father at the Honolulu Home Depot for wood and other supplies (wood glue, and a rasp).   I’d called ahead to make sure they had the type of wood I wanted, red oak. When I got there, I sorted through all the stacks of red oak to find a piece of wood with straight grain, a high amount of late growth, no warping, and no knots. It took me over an hour to sort through the small stacks they had- but I came out with three pieces of wood: a maple board, a red oak board, and a popular board. The red oak and the popular were relatively straight grained, and would be good for a bow. The maple board was a beautiful color, and I think I’ll be able to use it for the riser on my bow.

Time spent: ~1hr 30min

Technical Terms explained:

Riser: the handle of the bow

Bowyer: a person who makes bows

Late growth and Early growth: In areas where there are distinct seasons, trees grow in patterns seen as growth rings in cross-sections of a tree’s wood. These growth rings usually have two parts. The early growth, also known as spring growth, is formed when the tree grows rapidly, early in the season. Late growth, or  summer growth, is formed later, and is often more dense. One can usually differentiate between late and early growth, because of a difference in color. Late growth is usually darker than early growth, although in some trees it is the other way around. Because of late growth’s density, it is more desirable for bows, since it is less likely to break, and it has more tension, producing a more powerful bow.

A note on warping: Depending on which way the board is warped, warping can be either relatively neutral to the usefulness of a board, or render a board unusable. If the board is warped in the way the bow would bend, then the board is still usable. However, warping from side to side, or warping where the board is curved in makes a board unusable.

A note on knots: Knots, while they look interesting, are not fun for the beginning bowyer. Knots are spots of instability on the wood, places where branches once grew. Knots break up or warp the wood’s grain, so if tension is applied, they often break. More experienced bowyers can create “character bows”, bows that move with a warped grain, but for a beginning bowyer like me, knots are an unwelcome obstacle.

Powered by WordPress