(worked on April 9, 10, 12, 2009)
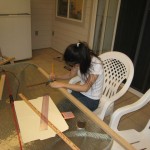
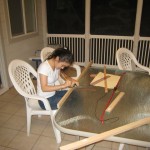
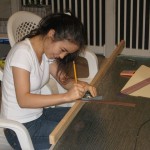
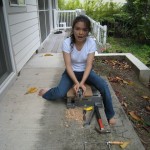
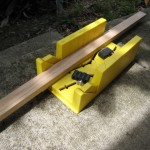
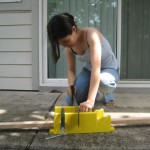
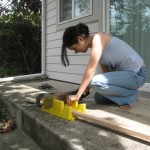
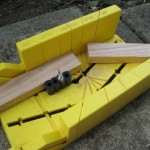
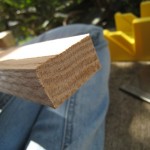
My indecision didn’t last as long while deciding how to shape the bow as it did before the last post’s step. There are a few shapes that I could have chosen, like a pyramid bow, which has a thin handle with triangular limbs, or a more curved shape that starts at the tips and slopes back into the handle. Unable to choose a specific bow shape, I started with the measurements of the nocks and handle first. I decided to make the nocks 1/2″, since that was the most popular size on the bow making websites I viewed in my research. From there, I decided to make the handle about 9″ long, since the bow:handle ratio of the bows I saw was about 72:10 (~7%), although the approximate bow:handle ratio of the bow I currently own is larger (50:4). From there, I decided on a simple straight shape from nock to handle edge. I haven’t decided whether to put a riser on my handle yet, I will decide when I start shaping out the back of the bow. To shape the limbs, I used a Black & Decker Benchtop Workmate clamp, and a hand plane. It took me ~20 mins to finish the last side of the limb, although some sides went faster than that, I think. When I first started to try to shave down the sides of the limbs, I tried to use a Stanley SurForm rasp, which was what one “how to” website used for the job. However, I found that the rasp barely even took one piece of sawdust off when I applied it. I tried a a chisel and hammer next, hoping to knock off pieces of wood in large chunks, making the job shorter. This also failed, as I barely made a dent in the end of the wood. I tried a coping saw, to saw off the excess wood, which also didn’t work. Next I tried an electric sander, which may have worked better than the other two, (although not noticebly so) but it still went quite slowly. I finally tried the plane, which turned out to shave off quite large pieces of wood in a relatively short amount of time. While my hand grew a bit numb pushing the plane, I was able to get all the sides done before I lost feeling in a few fingers, switching hands a few times. The plane, while shaving off large pieces of wood, also made the sides even more smooth and sharp-edged than they had been originally. While slicing down the sides, I noticed that some sides provided more resistance to the shaving. I found the reason for this after I’d finished- planes are meant to move with the grain, as most tools are- when pulled against the grain, planes pull up chunks. Fortunately, this only happened in a very small way at the very end of my slicing, so it wasn’t a problem.
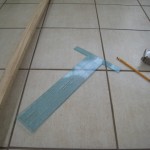
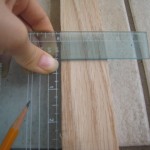
- A calculator out for the ratios, and my trusty adjustable t-square
- My bow, out for measurement purposes
- I marked the lines all around the piece of wood
- The coping saw, at the front of the picture
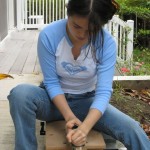
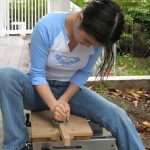
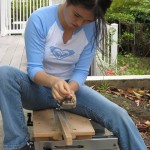
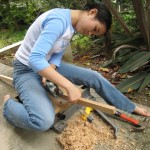
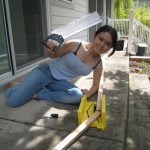
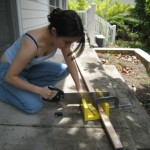
- Working with the plane
- Checking the sides to make sure I didn’t go over the line, as well as the overall shape
- I watched the sides while I planed, making sure I wasn’t going over the guide lines
- I had quite a few problems adjusting the plane; eventually I had my father do it for me
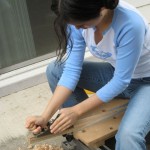
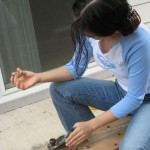
- Side view of working with rasp
- Considering a shaving- they were fun to play with
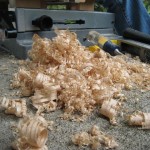
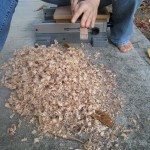
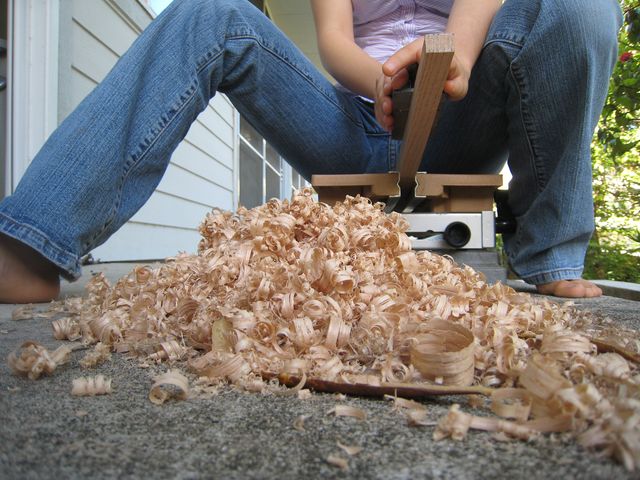
- The shavings turned out to be quite large and sturdy
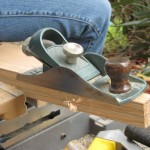
- The hand plane
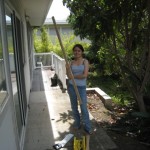
- Below me, you can see the Stanley SurForm rasp with its yellow handle, and the orange handle of the hammer
- The sawdust got rained on, so this is the result of sawdust over a shrunken pile
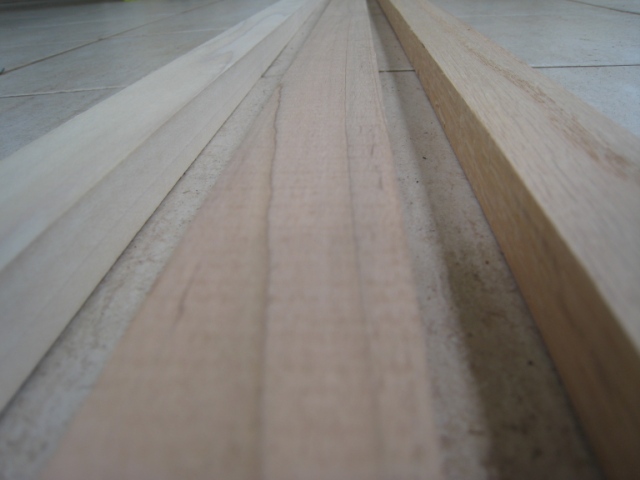
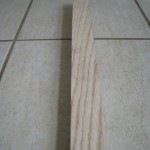
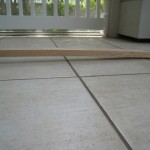
- The sides all completed
Time Spent: ~1hr20min
Technical Terms:
Nock: The ends of the bow, where the ends of the string attach to the bow.
Black & Decker benchtop Workmate clamp: This clamp is long, and closes with cranks. It kept the wood from moving around while I shaved it down.
Stanley SurForm rasp: This rasp is like a grater, it has many tiny blade-edged holes to rub against the wood.
Hand plane: A plane is basically an adjustable blade attached to a holding device, designed to flatten, smooth or reduce a piece of wood. Usually it is pushed across the wood, (as opposed to pulled) to slice off sections of wood.
Coping saw: A thin blade for intricately cutting wood- placed on the edge of a square, c-shaped frame.
Electric sander: The type I used was a vibrating surface with sandpaper stretched over it. It vibrates so when someone places it on wood, the person doesn’t need to rub it back and forth to sand the wood.
Chisel and hammer: A chisel is a blade with a handle, used to knock pieces of metal, wood, stone, etc. off larger pieces. The chisel I tried to use was a horizontal blade with a handle, similar to an oversized, sharpened slot screwdriver. Chisels are usually used by placing the blade on the larger piece, and knocking the end of the handle with a hammer.
