(worked on March 29, 2009)
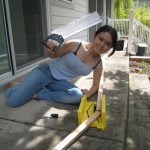
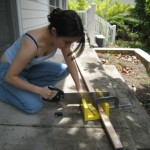
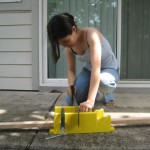
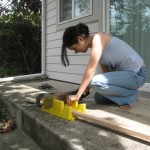
I waited a bit to work on the bow after I got the wood home, mostly because I was very unsure as to what length to make my bow. I consulted sites online that gave approximations as to what size bow fits what size person, but due to the variety of bows offered online I was still unsure as to whether I wanted a bow “large” for my size or “small” for my size. I eventually decided to use a 60″ bow, a couple inches shorter than my own height, which, according to the websites, would be ~2″ short for my size. I penciled in the ends on the 10 ft redwood piece using a plastic t square (a metal one, while preferable to plastic because it wouldn’t bend, was nowhere to be found at the time) so the 60″ piece would be the straightest grain on the piece. After I marked it, I took it outside, clamped it into the miter box and used the miter saw to take off the extra pieces.
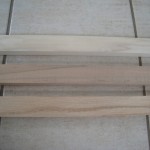
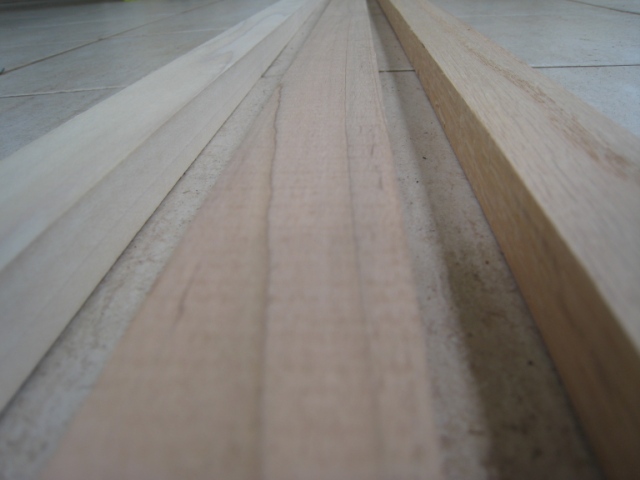
- the wood, top to bottom – popular, maple, red oak
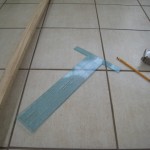
- materials – wood, t square, pencil, and tape measure
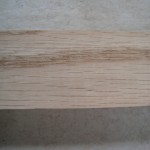
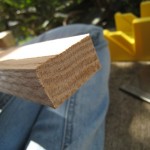
- a close up on the fibers- here they are pretty parallel, despite the larger ring going more diagonally across the board
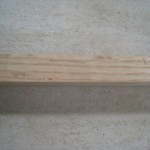
- the side grain, also quite straight
- one of the parts I cut off- the rings turn off the board
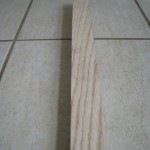
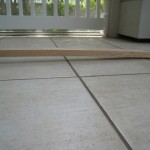
- the piece was warped, but I took the ends off so it is a bit straighter now
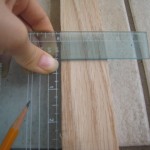
- t square and pencilling in the ends
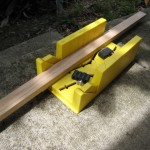
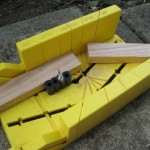
- box, wood, and the clamps (small black pieces)
- box and saw
- I used a third clamp, possibly because the small clamp that goes with the miter box was in the way of where I planned to cut
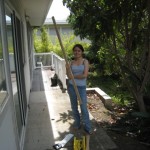
- sawing
- red oak is quite hard- good for bows, but it takes a while to cut through it
- the cut
- nice, straight, smooth end cut with the miter box/saw duo
- the finished product (well, the board cut to the right size)
Time Spent: ~1hr30min
Technical Terms explained:
T-square: A ruler shaped like a T, for drawing straight lines at right angles.
Miter box: A device which has slots for a saw, so cuts can be made at different angles (ie: 90deg. is what I used, but the box also had slots for 45deg, 20deg, etc.) My miter box also has clamps to keep the wood on the box, so it doesn’t move when being sawed.
Miter saw: A saw designed to be paired with the miter box- straight, fits the slots, has a bar on the top to stop the saw from going too far, and to stop the saw from bending too much.
A note on notation: I’m using inches for the wood measurements because inches is the standard form of measurement for bows.
