 (Worked on May 7, 2009)
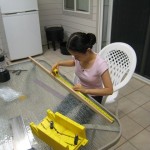
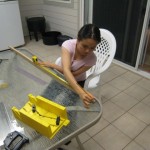
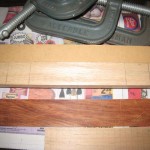
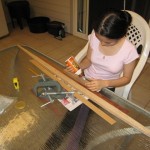
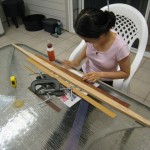
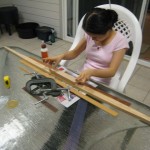
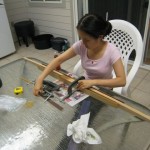
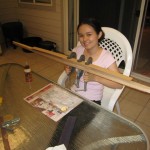
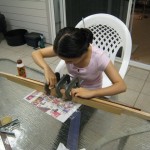
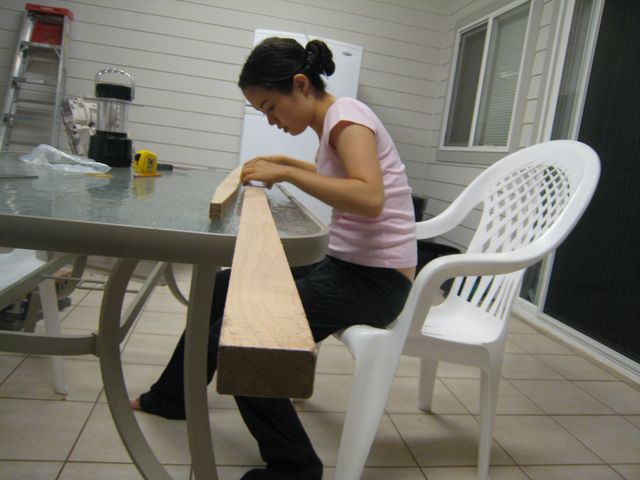
The next step on my bow was to thin it down, so it could bend. I decided to make the ends 3/4″, based on the “Bow Building for Poor People and Apartment Dwellers” “Red Oak Board Bow Build Along”. I drew a straight line from where I planned to have the ends of the riser to where the 3/4″ marks were. Between the three types of wood I had to choose from, I decided to use my maple board for the riser and the nocks, since I it was darker than the red oak, and I thought it would have nice contrast. I measured out 9″ on the board and the bow, and 5″ on the bow, to see where I was planning on tapering the handle to. I cut the maple board using the miter box to 9″, and clamped it using c-clamps onto the belly of the bow using Gorilla Wood Glue, which I bought on my first trip to Home Depot. The instructions on the glue said to leave the wood clamped for at least 24 hours, so I left the bow for the night.
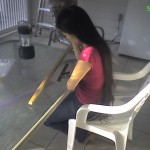
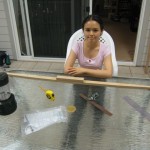
- Contemplating what I want
- Sketching in lines
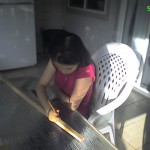
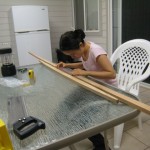
- Using a measuring tape to draw in the lines
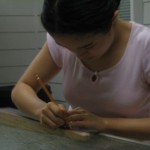
- Drawing the lines in
- Retracing the lines with a ruler to make them darker
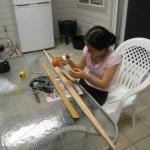
- Drawing the marking lines on the maple for the riser
- Lining it up
- The maple was much easier to saw through than the red oak
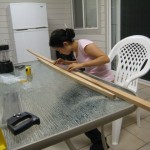
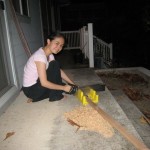
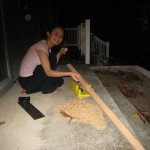
- Sawing the maple
- Showing off the cut edge- I later noticed it was a bit crooked, as I’d neglected to keep the wood straight (the weight of the wood pulled it to the ground)
- Checking to make sure I cut the riser to the right size
- The applicator was a bit clogged- I cleaned it out with a paper clip
- I used two pieces of thin wood to protect the bow and riser when I clamped them together
- Applying the Gorilla Wood Glue
- I spread the glue out evenly after I’d applied it
- Placing the riser with glue on
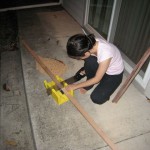
- Beginning the clamping
- All clapmed up
- Readjusting the wood in the clamps, since when I clamped it, it became misaligned- I got it almost aligned, and decided that was good enough
Time Spent: ~1hr30min
