 (Worked on May 16,17,18, 2009)
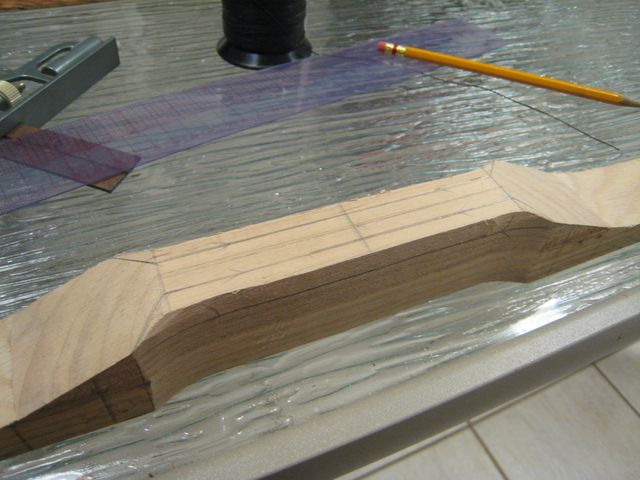
To make the handle easier to hold, I used the belt sander to take off 1/4″ from each side of the handle. After I did this however, the edges were still quite sharp to hold, so I sanded a tiny bit off of the outer edges with my sander. For the innner edges that would be against the palm of the hand, I measured 1/4″ more in from each side, and sanded a diagonal edge in, so the handle would be more rounded to hold. Until the very end, I was uncertain about the nocks. I was unsure of whether they would be able to hold the string once I’d glued them on. However, I decided to go ahead and try them out anyways. I cut off ~1/2″ blocks off of the maple board using the miter saw and the coping saw. I used a lot of glue to glue them on- at the time, I didn’t understand why it needed so much more than the riser needed. When I asked my father, he explanined that it was because I was trying to glue endgrain on, which absorps more glue than the side grain. Using a saber saw, I sawed off two more pieces with side grain on the side to be glued, just in case the pieces I’d clamped on wouldn’t work, but fortunately, about an hour later, after I’d removed the clamps, the endgrain pieces stayed on the bow well. I freehand shaped them using the belt sander- I had a vauge idea of what I wanted, so I just sanded until the maple nocks looked like how I wanted them to, and were the right size for the string. To cut the grooves for the string, I used the rasp I bought from WoodCraft, since the City Mill rasp was too large for the job. To get the right angle, I measured to the center of the 1.5″ long nock, and 1/4″ above it. I drew a line through the center of the nock, and angled my rasp from one center line to the other. I rasped until I felt that the grooves were the right size for the string.
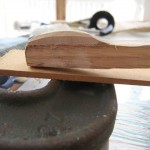
- Side view of a sanded maple nock
- The nocks right after sanding, before rat-tail rasping
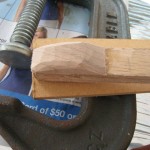
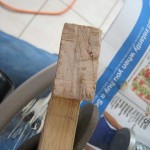
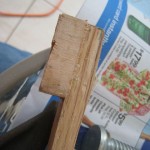
- A glued on block, soon to become a nock
- Side view of the glued on block
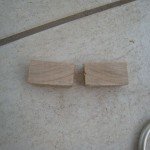
- The two blocks I cut using the miter box and saw
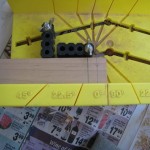
- The maple board in the miter box, with the marks
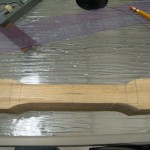
- The back of the bow
- A closeup of the guidelines for sanding the handle
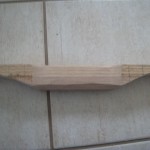
- Side view of rounded handle
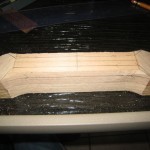
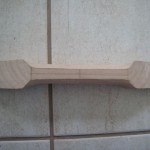
- Belly view of rounded handle
Time Spent: ~3hrs
